Developer Environment Setup
Steps for Environment Setup
Step 1: Download and Install Node.js
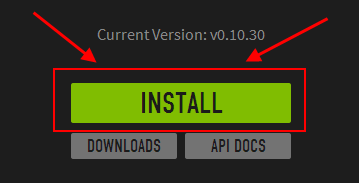
Go to the Node.js website and click the Install button as seen below for 64-bit. Optionally, you can download and execute locally.
Note: Ensure you install the 32-bit or 64-bit version depending on your PC Operating System installation.
Step 2: Verify Node.js Installation
Navigate to where NodeJS was installed on you PC files system. Either C:\Program Files\nodejs or C:\Program Files (x86)\nodejs depending on you PC Operating System. You should see the below files in the nodejs directory.

Double-click the nodevars.bat file as hightlighted above to ensure you PC Environment Variables are set properly.
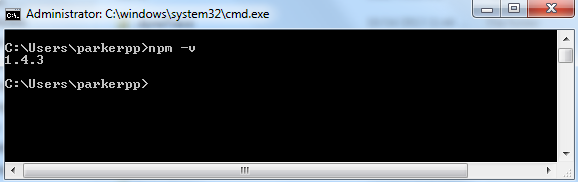
To verify the proper installation of NodeJS, open a command prompt inside the nodejs directory and type npm -v to verify the Node.js installation. If Node.js has been installed properly on your PC, then you should see the version number in the command window as seen below.
If the Node.js version is not recognized on your PC, then you will need to check the Environment Variables on you PC.
Navigate to Environment Variables: right-click Computer > Properties > Advanced system settings > Enviornment Variables. You should see the below window pop-up on your PC.
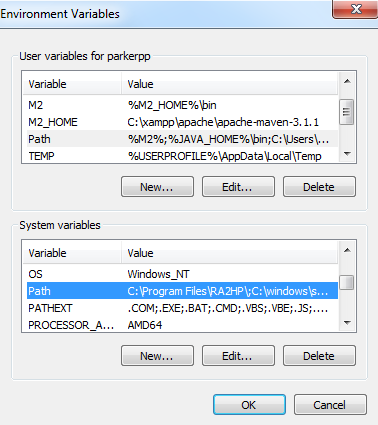
Go to the System Variable section and scroll down and select Path. Click Edit and you should see the below window pop-up on your PC.
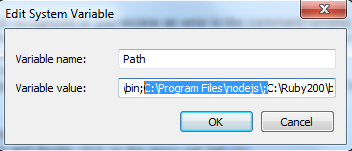
Add the following path convention C:\Program Files\nodejs\; in the Variable value as seen below. The path may vary depending on where you have installed Node.js on your PC.
Step 3: Install the Grunt Client
Navigate to the SVN trunk and double-click on the proxy-set.bat. Once exectuted, open a command prompt and type npm install -g grunt-cli and hit Enter.
Once installation process has completed, type npm install in the command window and hit Enter.
Step 4: Install and Verify Ruby
Go to the Ruby website and install the most stable version of Ruby. In the first paragraph of the website, it will indicate the most stable version for installation.
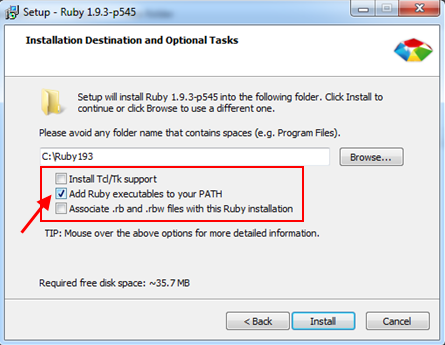
Once the installation starts and after accepting the agreement & condition page, a new page will be displayed as shown below. Make sure the middle check-box is checked, Add Ruby executable to your PATH, and then click install button.
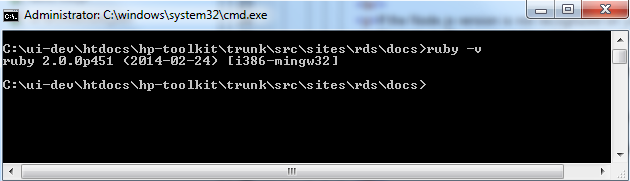
Once the installation has completed, reboot your computer. Next open a comman prompt and type ruby -v in the command window. You should see the ruby version number in the command window as seen below which will verify Ruby has been install properly.
Step 5: Install and Verify Sass
In the the command prompt window type gem install --http-proxy https://web-proxy.austin.hp.com:8088 sass.
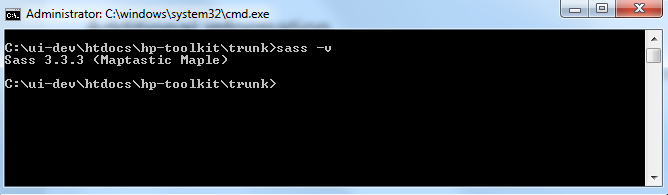
Once the installation has completed, type sass -v in the command window. You should see the sass version number in the command window as seen below which will verify Sass has been install properly.
Step 6: Perform a Build
Ensure you are in the SVN trunk directoy of your local working copy of the code repository (example: C:\<your path>\trunk).
In the the command prompt window type grunt build and hit Enter.
You should now see a newly created /build directory at the same level as the /src directory. This is location where all HTML pages and websites will be generate from the /src directory.
Additional Grunt Commands
grunt watch - Watches the files in the /src directory and builds the static HTML pages and websites automatically.
grunt deploy --prodution - Builds a production deliverable package within the /deploy directory.